18
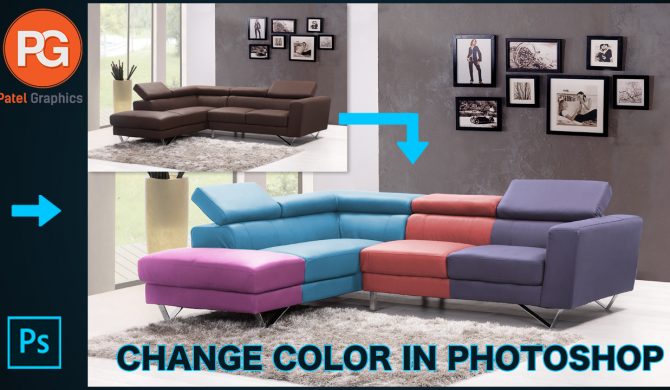
Change the Color of an Object in Photoshop || Photoshop Tutorial
#changecolor #photoshoptutoria #colorreplace
In this photoshop tutorial, you will learn in photoshop.
If you enjoyed this video, please leave a LIKE and SUBSCRIBE for more videos. Learn advanced techniques for changing the color of any object in a scene using Photoshop.
Services you can get from me & the prices –
If you need anything more don’t forget to contact me, There are given below.
What you learned: Apply color to an object using techniques that create a realistic color match and that bring the object to life
To change the color of an object with professional results, control all three of these essential characteristics of color: hue (the color), saturation (the intensity of the color), and brightness (the lightness and darkness of the color).
Select an object
- Select the Object Selection tool in the Toolbar, and drag a rectangle across the entire object. This creates a selection that automatically shrinks to the edges of the object.
Create a layer group and apply a mask to the group
- In the Layers panel, click the Create New Group button to create a layer group.
- With the selection still active, click the Add Layer Mask button in the Layers panel to create a mask in the shape of the selection around the object. Adding a mask to the group will allow you to use one mask to affect multiple layers in the following steps.
Apply a new color and adjust its hue and saturation
- Click the Create New Fill or Adjustment Layer button in the Layers panel, and select Solid Color. This adds a Color fill layer inside the layer group. The mask on the layer group limits the solid color to the object.
- Select the new color that you want to apply to the object and click OK. The object now appears to be filled with that solid color.
- With the Color fill layer still selected, open the Blending Modes menu in the Layers panel, and click the Color blending mode. The Color blending mode applies the hue and saturation of the new color but retains the brightness of the original color of the object.
Adjust the brightness of the new color
- Click the Create New Adjustment Layer button in the Layers panel, and choose Levels. This adds a Levels adjustment layer.
- Drag the Levels adjustment layer below the Color fill layer in the layer group.
- Use the Input Levels sliders in the Properties panel to brighten up the object. For example, you can drag the white slider to the left to brighten the object and drag the gray slider farther to the left to increase contrast. These adjustments affect the third component of color—brightness—giving the object with its new color the appearance of texture and shading.
14
How to edit couple photos in photoshop || Wedding photo editing || Photoshop Tutorial
Hello, Here I will show How to edit couple photos in photoshop – Photoshop Tutorial. If you face any problem to understand, feel free to comment here.
#Photoshoptutorial #coplephotoediting #couplephotoManipulation #photoshop #weddingphotoediting
09
Double Exposure Effect || Photoshop Tutorial
In film photography, a double exposure is a combination of two exposures in one image to produce evocative results. In this easy-to-follow tutorial, learn how graphic artist Erica Larson uses Adobe Photoshop to combine two photos, creating a seamless double exposure effect.
#DoubleExposureEffect #PhotoshopTutorial
Before you start.
The best images to use with this technique are high-contrast photos with distinct light and dark areas. Use these sample images if you’d like, or practice with your own.
Step 1: Prep your images
Open your two images and drag one on top of the other. Larson dragged the snowy landscape on top of the image of the bison. Then, in the Layers panel, set the Blend mode to Screen and reduce the Opacity setting.
Step 2: Get clear
To bring out the bison’s face and other areas, Larson added a mask to the landscape layer. This allowed her to simply paint wherever she wanted those details to come through.
Step 3: Add more color
For a dramatic touch, Larson added a Gradient Fill layer using the Violet, Orange preset, before setting the Blend mode to Overlay and reducing the Opacity to 60 percent.
Step 4: Keep focus
To keep the focus on the bison’s face, Larson adjusted the Gradient Fill angle to 0 degrees. She clicked on the gradient to open the Gradient Editor and shifted the violet color stop and the Color Midpoint to get the desired effect.
Get twice the exposure.
Find pairs of photos to combine in your photo gallery and have fun creating fresh takes.
07
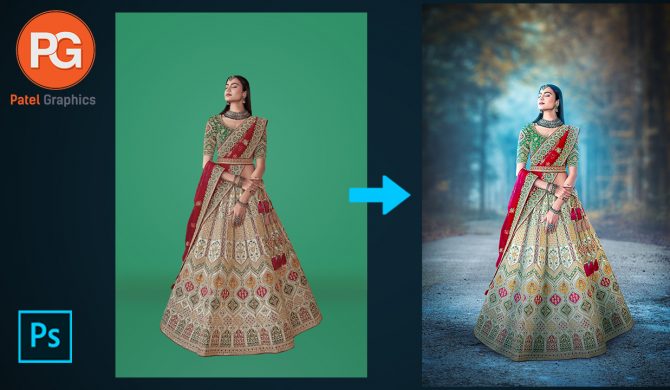
How To Change Background in Photoshop || Photo Manipulation || Photoshop Tutorial
10
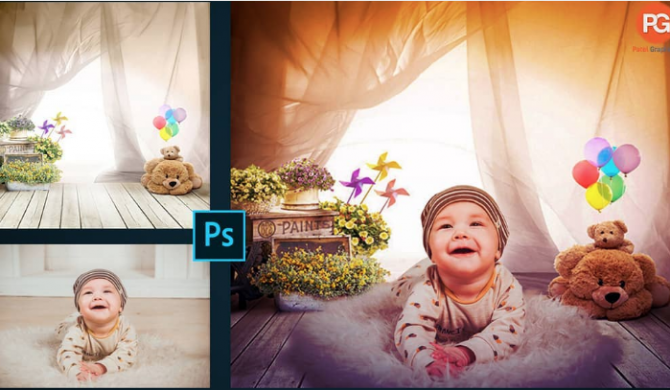
How to edit baby photos in Photoshop tutorial || baby photo editing || Patel Graphics
#Photoshoptutorial #babyphotoediting


