09
2022How to create a double exposure effect in Photoshop Tutorial
Double Exposure Effect || Photoshop Tutorial
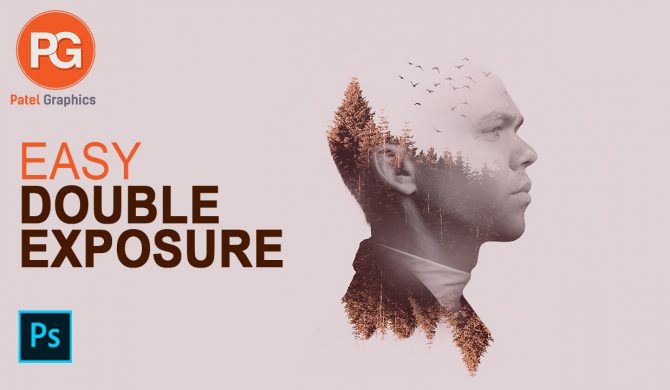
In film photography, a double exposure is a combination of two exposures in one image to produce evocative results. In this easy-to-follow tutorial, learn how graphic artist Erica Larson uses Adobe Photoshop to combine two photos, creating a seamless double exposure effect.
#DoubleExposureEffect #PhotoshopTutorial
Before you start.
The best images to use with this technique are high-contrast photos with distinct light and dark areas. Use these sample images if you’d like, or practice with your own.
Step 1: Prep your images
Open your two images and drag one on top of the other. Larson dragged the snowy landscape on top of the image of the bison. Then, in the Layers panel, set the Blend mode to Screen and reduce the Opacity setting.
Step 2: Get clear
To bring out the bison’s face and other areas, Larson added a mask to the landscape layer. This allowed her to simply paint wherever she wanted those details to come through.
Step 3: Add more color
For a dramatic touch, Larson added a Gradient Fill layer using the Violet, Orange preset, before setting the Blend mode to Overlay and reducing the Opacity to 60 percent.
Step 4: Keep focus
To keep the focus on the bison’s face, Larson adjusted the Gradient Fill angle to 0 degrees. She clicked on the gradient to open the Gradient Editor and shifted the violet color stop and the Color Midpoint to get the desired effect.
Get twice the exposure.
Find pairs of photos to combine in your photo gallery and have fun creating fresh takes.

